
You can accomplish this in just five minutes a day. I promise you. It is so simple. You can do this if you can hold a wooden spoon, and have a big mixing bowl or container and two loaf pans.
Step one you mix water, yeast, flour, salt, sugar and oil all together into one easily mixed dough. This is done in a few minutes. No kneading.
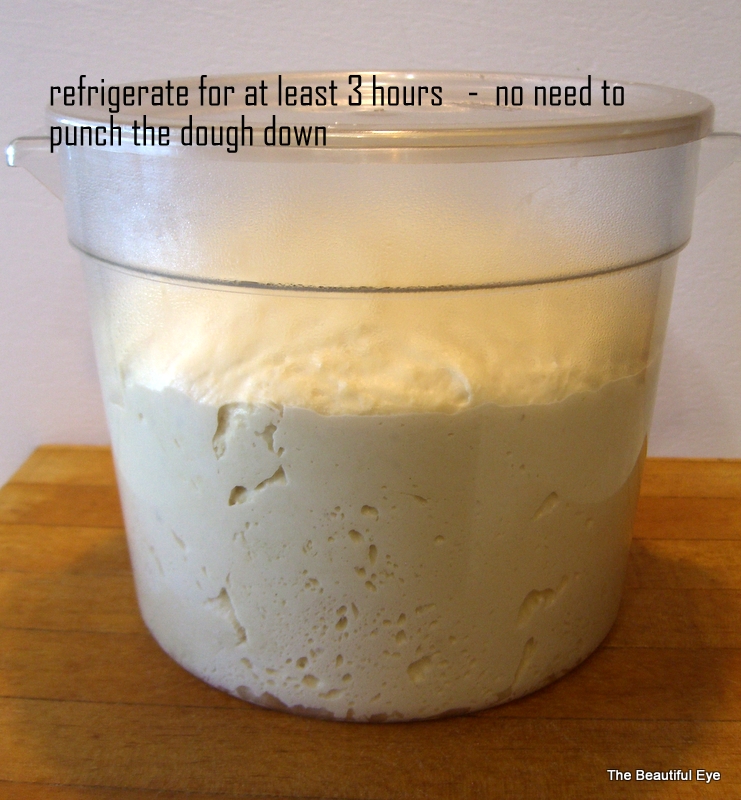
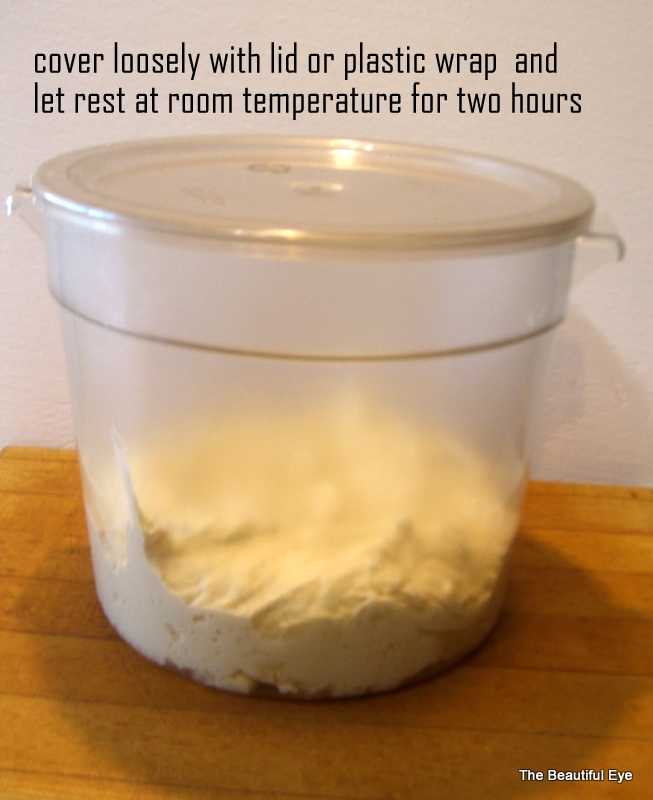
Step two you leave the dough to rise on your counter. It rises to heady heights but you don’t punch it down. Step four you refrigerate it and let it have a good rest.
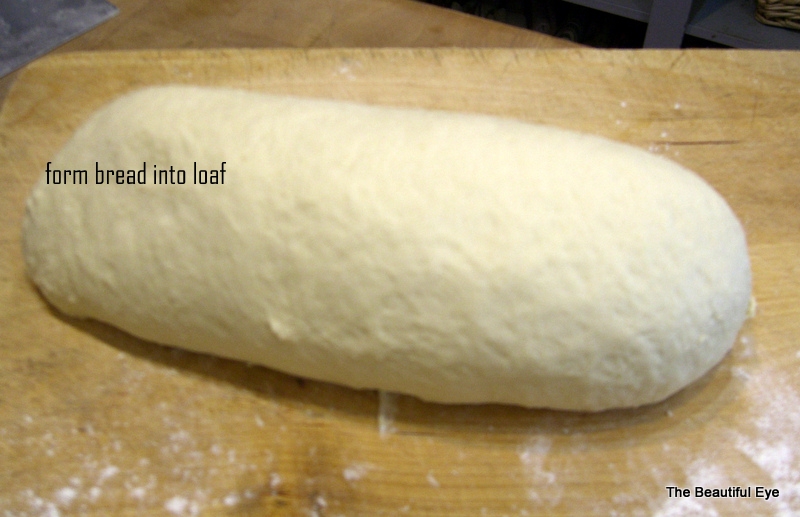
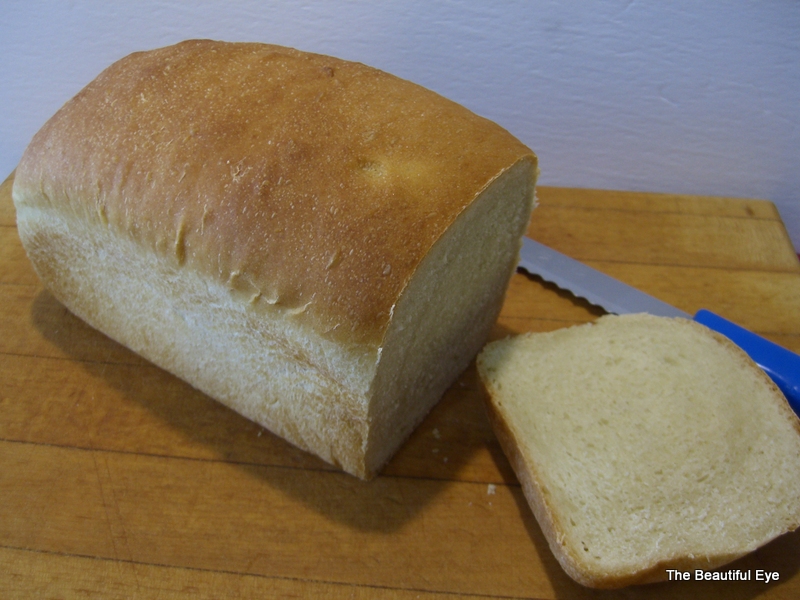
When you are ready to bake your bread you remove a portion of the dough, form it into a ball, then into a loaf shape and sit it in a loaf pan to rise. All that’s left it to bake your bread and then indulge in the joy of home made bread.
This recipe is unbelievably simply. BUT IT WORKS. You can mix and store the dough in the same container using only a wooden spoon. A stand mixer is nice but not necessary. You need two loaf pans (if baking all the dough). And that’s it. You can store the dough for up to seven days in the refrigerator and bake bread when every you like. This bread recipe is so obliging. It’s not messy. It requires little space. Perfect for small kitchens. And even better for vacation cottages when the nearest store is ten miles away.
This recipe makes a fine crumb, dense bread that slices perfectly and stores well. Do not refrigerate your baked loaf.
| ZEN AND THE ART OF BREAD MAKING IN FIVE MINUTES A DAY | Print |
- lukewarm water (100F or below) 3 cups (680 grams) (1 pound, 8 ounces)
- Granulated yeast 1 tablespoon (10 grams )(.35 ounces)
- Kosher salt 1 tablespoon (10 grams) (.6 ounces)
- Sugar ⅓ cup (85 grams) (3 ounces)
- Oil ¼ cup (85 grams) (2 ounces)
- All-purpose flour 7½ cups (1.065 grams) (2 pounds 5½ ounces)
- If desired egg wash (1 egg beaten with 1 tablespoon water) for brushing the loaf.
- YOU CAN DOUBLE OR HALVE THIS RECIPE.
- MIXING THE DOUGH:
- Mix the yeast, salt, sugar, and oil with the water in a 6 quart lidded (not airtight) container or a 5 quart stand mixer.
- MIX IN THE FLOUR - KNEADING IS U NECESSARY:
- Add all of the flour at once, measuring it with dry-ingredient measuring cups or by weighing the ingredients. Mix with a wooden spoon or a heavy-duty stand mixer with paddle until the mixture is uniform. It you're hand-mixing and it becomes too difficult to incorporate all the flour with the spoon, you can reach into your mixing vessel with wet hands and press the mixture together. DON'T KNEAD. It isn't necessary. You're finished when everything is uniformly wet, without dry patches. This step is done in a matter of minutes, and will yield a dough that is fairly tacky.
- ALLOW TO RISE:
- Cover with a lid that fits the container well but isn't completely airtight. If you're using a bowl, cover loosely with plastic wrap. Allow the mixture to rise at room temperature for about 2 hours, depending on the room's temperature and the initial water temperature - then refrigerate it and use for up to 7 days. If your container isn't vented, allow gases to escape by leaving it open a crack for the first couple of days in the fridge. After that you can usually close it, but a vented container is best.
- You can use a portion of the dough any time after the 2 hour rise. Fully refrigerated dough is less sticky and is easier to work with than dough at room temperature, so the first time you try this method it is best to refrigerate the dough overnight (or at least 3 hours) before shaping a loaf. Once refrigerated, the dough will seem to shrunk back upon itself and it will never rise again in the bucket - that's normal. NO NEED TO PUNCH DOWN THIS DOUGH.
- ON BAKING DAY:
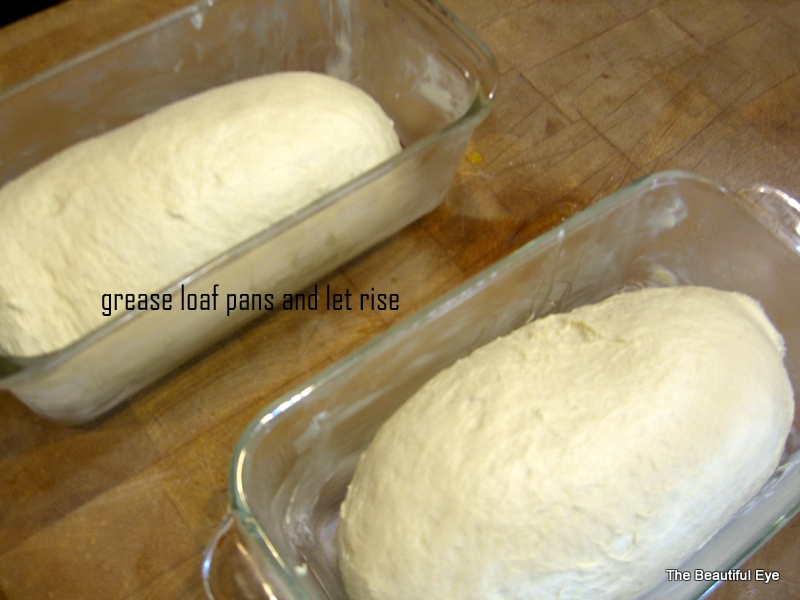
- Grease an 8½ x 4½ non stick loaf pan with butter. Grease heavily if you are not using a nonstick pan.
- Dust the surface of the refrigerated dough with flour and, using kitchen shears or a serrated knife, cut off a 2-pound (cantaloupe-size) piece. Dust with more flour and quickly shape it into a ball by stretching the surface of the dough around to bottom, rotating the ball a quarter-turn as you go. Most of the dusting flour will fall off; it's hot intended to be incorporated into the dough,. The bottom of the loaf may appear to be a collection of bunched ends, but it will flatten out and adhere during resting and baking. The correctly shaped loaf will be smooth and cohesive. The entire process should take no more than 20 to 40 seconds.
- Elongate the ball into an oval and drop it, seam side down into the prepared pan.
- Cover loosely with plastic wrap and allow to rest at room temperature for 90 MINUTES. You may not see much rise during this period; must more rising will occur during baking. If you are using fresh dough, that has not been refrigerated, you only have to let it rise 45 minutes.
- Preheat the oven to 350F, with a rack placed in the center of the oven.
- Brush the top of the loaf with egg wash.
- Bake for about 50 minutes, or until medium golden brown and well set.
- Remove from pan. If the loaf sticks, waiting 10 minutes and it will steam itself out of the pan.
- Allow to cool completely (about 2 hours) preferably on a wire cooling rack, for best flavour, texture and slicing. Cutting into a hot loaf is tempting, but it won't slice well and may seem underbaked if you break into it before it's cooked.
- Store the remaining dough in the refrigerator in your lidded or loosely plastic-wrapped container and use it over the next 7 days.
- If you store your dough in the mixing container, you'll avoid some cleanup. Cut off and shape more loaves as you need them. The dough can also be frozen in 2 pound portions in an airtight container for about 3 weeks and defrosted in the refrigerator before using.


Pingback: ZEN AND THE ART OF BAKING BREAD IN FIVE MINUTES A DAY | Bel' Occhio